 how-to
How to Stop an Overflowing Toilet Quickly: 7 Steps
Table of Contents
- Step 1: Shut Off the Water Supply Immediately
- Step 2: Contain the Water to Prevent Damage
- Step 3: Plunge the Toilet Correctly to Clear the Clog
- How to Unclog a Toilet Without a Plunger
- Step 4: Clean and Sanitize After the Overflow
- Step 5: Prevent Future Overflowing Toilet Problems
- When to Call a Professional for an Overflowing Toilet
- Frequently Asked Questions
Last Updated: September 10, 2026
Step 1: Shut Off the Water Supply Immediately
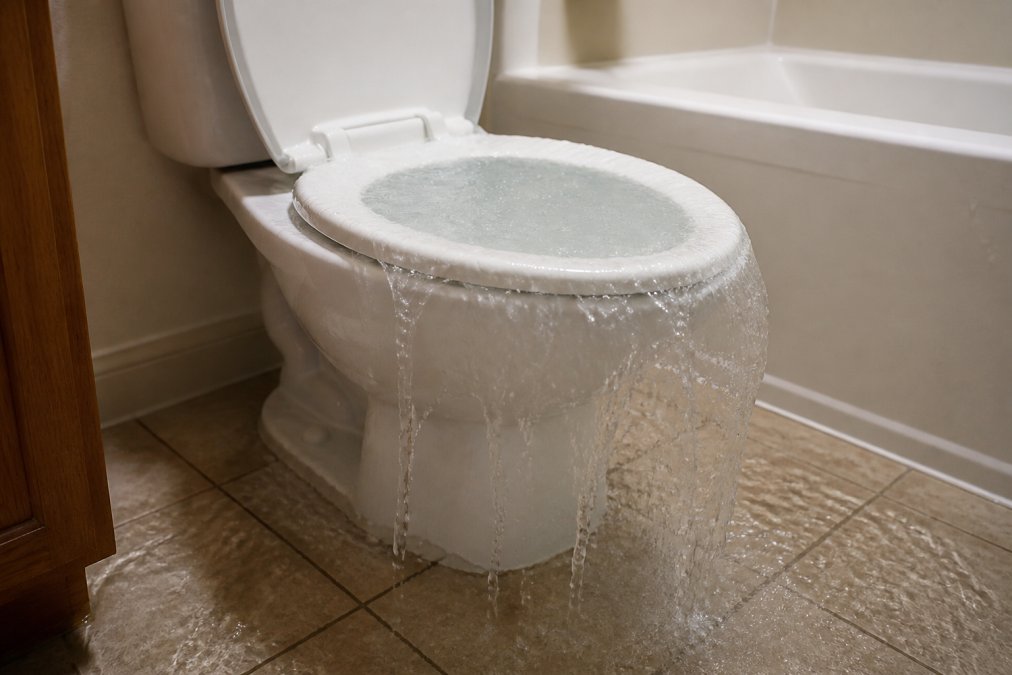
A toilet that keeps filling while the bowl overflows will flood your bathroom in minutes. The fastest way to stop an overflowing toilet is to cut the water at the source first.
The fix takes ten seconds; knowing where to reach is the whole skill.
How to Find the Toilet Shut-Off Valve
The shut-off valve is a small oval or lever handle on the wall behind the toilet, usually 15 to 20 centimetres above the floor and about 15 centimetres to the right of the bowl. Turn it clockwise until it stops. If the handle is stiff, turn it gently; forcing a plastic handle will snap it.
If you cannot find a wall valve, lift the tank lid and push the toilet float down or lift the arm so the fill valve stops feeding water. This buys you time but does not fully stop the supply. For a full walkthrough of valve locations and what to do when the handle is seized, see this guide on how to find the toilet shut-off valve for general plumbing basics.
Step 2: Contain the Water to Prevent Damage
Most guides jump straight from shutting off the water to plunging, skipping the two to five minutes when water is still spreading. Containment during that window decides whether you dry a floor or replace subfloor and baseboards.
Build a Barrier Before You Plunge
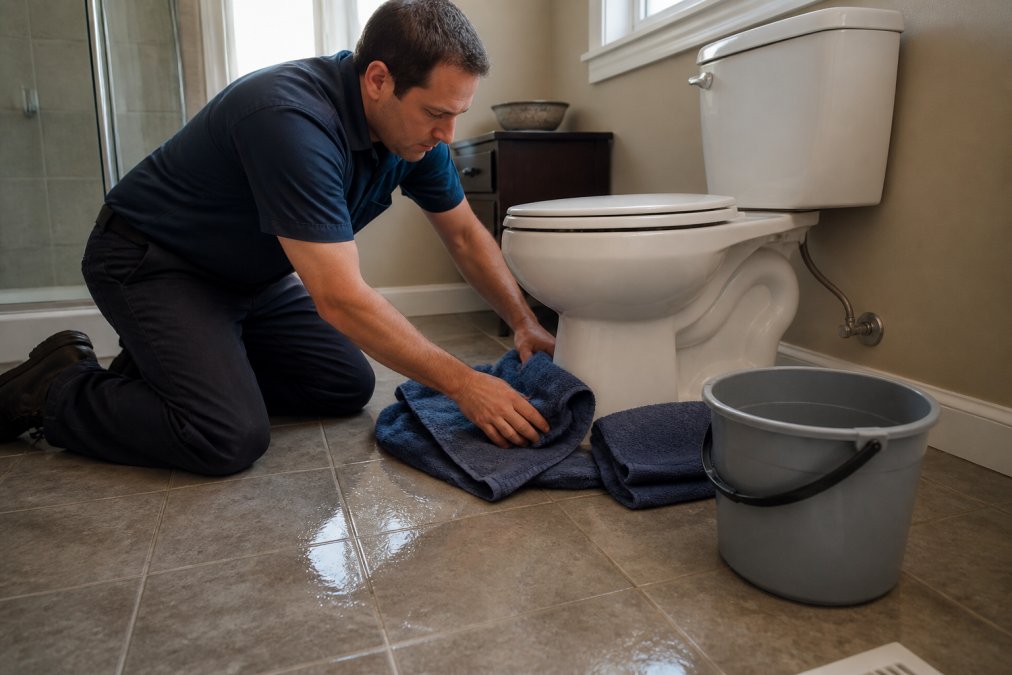
You do not need specialty equipment. You need absorbency and a dam. Work in this order:
- Dam the flow at the bowl. Roll two thick bath towels lengthwise into logs and press them against the base of the toilet, one along the front and one along the side where water is running. A rolled towel holds back far more water than a flat one.
- Block the grout lines. Water follows the lowest point in the floor, usually the grout channel on tile. Lay a second row of towels perpendicular to the first.
- Protect the doorway. A folded towel across the threshold keeps water from reaching carpet or hallway flooring. Carpet wicks water sideways fast and is the most expensive surface to dry.
- Keep a bucket inside arm's reach. Wring soaked towels into it rather than carrying them dripping across the room. A five-gallon or mop bucket works; do not leave the bathroom to empty it until the clog is cleared.
Household Items That Work When You Have Nothing
If the towels are in the laundry and the bucket is in the garage, these substitutes buy time:
- Trash bags. Lay them flat and overlap the seams to create a waterproof sheet. A double layer of kitchen bags under the toilet base is a fast temporary dam.
- A plastic storage bin or laundry basket. Line it with a bag and set it beside the bowl to catch drips.
- A shower curtain or bath mat. A fabric mat absorbs; a plastic-backed mat or shower curtain liner blocks. Use the plastic side down.
- Dirty laundry. A pile of clothing is absorbent and already destined for the wash, a legitimate emergency option.
Why Speed Matters More Than Perfection
Water damage is a function of time and volume, not of how tidy your barrier looks. Laminate and engineered wood begin to swell within the first hour of standing water contact, drywall wicks moisture upward within minutes, and mould can colonize damp materials within 24 to 48 hours if they are not dried properly.
The barrier does not need to be pretty, it needs to be in place before you plunge, because plunging can push another surge over the rim. Once the clog clears, you can clean up with the spill already corralled.
If Water Has Already Reached Carpet or Wood
Act before you plunge. Pull back loose rugs and set them outside the bathroom. For carpet, blot with weighted towels. For wood or laminate, dry the surface immediately and run a fan across it; do not let water sit in the seams. Once the clog is cleared, run a dehumidifier for at least 24 hours. If the flooring feels soft, cupped, or spongy after drying, water has reached the subfloor and a restoration professional should assess it.
Step 3: Plunge the Toilet Correctly to Clear the Clog
Correct plunging clears most blockages in under a minute. The common mistake is a weak seal and short, frantic strokes that push air instead of water. You need a proper seal and steady, forceful downward force.
Choosing the Right Plunger for the Job
A flange plunger is the correct tool for a toilet, its rubber flange folds into the drain opening and creates the suction you need. A cup plunger, the flat-bottomed kind used for sinks, will not seal against the curved toilet trap.
Check the flange before you start. If the rubber is cracked or stiff, it will not seal. Warm it in hot water for a minute to soften it.
Plunging Techniques That Build Maximum Pressure
- Insert the flange fully into the drain opening so it sits below the water line.
- Push down slowly on the first stroke to seat the seal and force out trapped air.
- Pull up without breaking the seal, then drive down hard and fast.
- Repeat 15 to 20 rapid strokes, keeping the flange submerged the whole time.
- On the final stroke, pull up sharply. If the water drains, the clog has broken.
The water level in the bowl should drop when the blockage clears. If it stays high after 20 strokes, you are dealing with a solid obstruction, not a soft one.
How to Unclog a Toilet Without a Plunger
No plunger in the house? You still have options, but they are slower and messier. A plumbing snake or auger is next best: feed the cable into the drain until you feel resistance, then crank the handle to break up or hook the blockage.
A bucket of hot (not boiling) water poured from waist height can sometimes shift a soft clog through weight and gravity alone. Dish soap added first can lubricate the trap. Never pour chemical drain cleaner into a toilet you plan to plunge afterward; the splash risk is serious, and the chemicals can damage the flapper and seals.
If you have neither a plunger nor a snake, this step-by-step guide to unclogging a toilet without a plunger covers the hot-water and soap methods in detail. When those fail, stop improvising.
Step 4: Clean and Sanitize After the Overflow
Most guides stop at "the clog is cleared," leaving the bathroom contaminated. Toilet water can carry bacteria, viruses, and parasites, and every surface the overflow touched, including surfaces you cannot see, must be treated as contaminated.
Gear Up Before You Touch Anything
Put on rubber gloves before you pick up a single wet towel. If the spill was large or splashed, add a mask and eye protection; splashes and aerosols are the main exposure route. Wear shoes you can disinfect or throw away, never socks or bare feet through standing water.
Work in the Right Order
Cleaning from the cleanest area toward the toilet prevents re-contaminating surfaces you have already treated.
- Remove and bag the wet towels and mats. Bag them, tie it, and take it out of the bathroom. Wash separately in hot water with detergent and dry on the highest heat the fabric allows, never with regular laundry.
- Pick up solid debris first. If anything solid came up with the overflow, use paper towels and dispose of them in the bag. Never use a household sponge on toilet water; sponges harbor bacteria and spread them.
- Wipe from the far wall toward the toilet. Use a bathroom-rated disinfectant and follow the label's contact time, the surface must stay wet long enough to kill pathogens. Wiping it dry immediately defeats the disinfectant.
- Treat the toilet itself. Wipe the rim, the outside of the bowl, the seat, the lid, and the base. Then clean the inside of the bowl with a toilet cleaner and brush.
- Do the floor last. Mop or wipe the entire floor, not just the visibly wet area. Water spreads farther than the puddle shows, especially along grout lines and under the toilet base.
Surfaces People Forget
These spots get missed and cause odors or illness days later:
- The base of the toilet and the caulk line. Water pools here and seeps underneath.
- Baseboards and the bottom of the wall. Wipe at least 15 centimetres up the wall.
- The vanity cabinet. Open the doors and check the bottom panel and the toe kick. Water travels under cabinets and stays trapped.
- The toilet brush holder and the plunger. Both were in the splash zone. Rinse them with hot water and disinfectant, or replace them.
- Door handles, light switches, and the faucet. You touched them with contaminated hands.
Porous Items You Cannot Just Wipe
Discard anything soaked with toilet water that cannot be disinfected: cardboard, paper products, unsealed wood, fabric you cannot machine wash on hot, and anything with cracks or seams that trap moisture. When in doubt, throw it out, replacement costs less than lingering contamination.
Dry the Space Completely
Sanitizing is only half the job, trapped moisture under a cabinet or behind a baseboard grows mould within days. After surfaces are clean, run a fan and dehumidifier for at least 24 hours and leave cabinet doors open so air reaches the interior. A musty odor after two days means moisture is still trapped.
Wash Yourself Last
Remove gloves by turning them inside out and put them straight into the trash bag. Wash your hands with soap and warm water for at least 20 seconds. If the overflow splashed onto your clothing, change and wash those items separately in hot water.
Step 5: Prevent Future Overflowing Toilet Problems
Prevention comes down to three habits. First, watch what goes in, flushable wipes, paper towels, and dental floss are the leading causes of repeat clogs, regardless of packaging claims. Second, check tank hardware twice a year; a worn flapper or misadjusted float lets the tank overfill and can send water into the overflow tube.
Third, know the early warning signs. A toilet that gurgles, drains slowly, or needs two flushes is telling you a clog is forming. Clear it before it becomes an overflowing toilet emergency.
| Warning Sign | Likely Cause | Quick Fix |
|---|---|---|
| Slow drain | Partial clog in trap | Plunge before it worsens |
| Gurgling sound | Vent or drain pressure issue | Check the vent stack |
| Two-flush toilet | Weak flush from low water level | Adjust the fill valve |
| Constant running | Worn flapper | Replace the flapper |
When to Call a Professional for an Overflowing Toilet
Call a professional when plunging fails twice, when water backs up into other fixtures, or when you suspect a blockage deeper in the drain line. Those signs point to a main-line problem no amount of plunging will fix, and continued attempts risk water damage to floors and ceilings.
UMark Plumbing and Drain Inc. has over 20 years of experience, with certified technicians available 24/7 for burst pipes, severe leaks, and stubborn blockages. We provide an estimate before work begins so there are no surprises on the invoice.
Emergency Plumbing Services Cost: What to Expect
Emergency plumbing services cost depends on the time of day, the depth of the blockage, and whether parts need replacing. After-hours and weekend calls carry a premium, and a main-line blockage costs more to clear than a simple trap clog. Because pricing varies by job, UMark Plumbing and Drain Inc. publishes its rates on its website rather than quoting a flat figure over the phone. Request a free quote and you will get a clear estimate before any work starts. For context on how emergency rates are structured in general, see this overview of emergency plumbing services cost consumer guidance on hiring home service providers.
An overflowing toilet is stressful, but it is one of the most fixable plumbing problems you will face. When the clog will not clear or the water keeps coming back, you need a team that shows up fast and fixes it right the first time. UMark Plumbing and Drain Inc. brings 20+ years of experience, certified technicians, and 24/7 emergency service to every call, with transparent estimates. Get your free quote from UMark Plumbing and Drain Inc. and stop the water for good.
Frequently Asked Questions
How do I stop constant water flow in my toilet?
Lift the tank lid and push the flapper down to seal the opening, or turn the shut-off valve clockwise until it stops. If the flapper is worn or the fill valve is stuck, the water will keep running. Replacing a flapper is a simple fix that most homeowners can do. If the valve itself is seized or the tank keeps filling, call a licensed plumber to inspect the fill valve and overflow tube.
My toilet keeps overflowing after I flush. What can I do to stop this?
A recurring overflowing toilet usually points to a partial blockage in the drain or a faulty flapper that lets too much water into the bowl. Try plunging with a flange plunger using rapid strokes, then flush once to test. If it overflows again, avoid flushing until a plumber inspects the drain line. Recurring clogs often signal a deeper blockage that needs a plumbing snake or auger.
Does pouring hot water in a toilet help unclog it?
Hot water can soften grease or soap buildup, but it will not clear a solid blockage and may crack a cold porcelain bowl. Pour it slowly from a bucket, never from a pot directly over the bowl, and never use boiling water. If the clog does not clear after one or two attempts, switch to a plunger or call a plumber. Chemical drain cleaners are risky because they can damage pipes and create fumes.
When should I call an emergency plumber for an overflowing toilet?
Call an emergency plumber if the shut-off valve will not stop the water, if sewage is backing up into other fixtures, or if the toilet overflows repeatedly after plunging. These signs point to a main drain blockage that needs professional equipment. Get a quote before work begins to avoid surprises.