 How-to
Budgeting for Annual Plumbing Upgrades in Rental Buildings
Quick Summary
Budgeting for annual plumbing upgrades in rental buildings starts with a plumbing asset inventory that records pipe materials, fixture ages and estimated remaining service life. Once you know what needs replacing, set a yearly reserve using a percentage of replacement value, per-unit allowances or a share of rental income, then reconcile the three.
- Record pipe material, fixture type, brand, and install year for every component, marking estimates clearly.
- Galvanized and cast iron lines often reach the end of their service life sooner, so flag them first.
- Run three benchmarks: percentage of replacement value, per-unit allowance, and percentage of rental income.
- Keep the repair reserve in a separate account and withdraw only against lifecycle items or emergencies.
- Request at least three written quotes with identical scope, itemizing labour, materials, permits and restoration.
Table of Contents
- Start With a Plumbing Asset Inventory and Lifecycle Schedule
- Setting Annual Budget Benchmarks for Plumbing Upgrades
- Building a Rental Property Repair Reserve Fund
- Estimating the Cost to Replace Plumbing in an Apartment Building
- Scheduling Plumbing Inspections and a Maintenance Checklist for Landlords
- Prioritizing Emergency Repairs Against Planned Upgrades
- Scheduling Your Next Plumbing Assessment With UMark
- Frequently Asked Questions
Start With a Plumbing Asset Inventory and Lifecycle Schedule
Last Updated: November 5, 2026
Budgeting for annual plumbing upgrades in rental buildings starts with knowing what you own. Many landlords cannot list their pipe materials or fixture ages from memory, and that gap makes a budget harder to set accurately. Building a simple inventory before setting any dollar figure is a sound starting point.
Walk through each unit and the common areas with a notebook or spreadsheet. Note every visible component, then check the building's records for anything hidden behind walls.
Recording Pipe Materials, Fixtures and Install Dates
Record the material of each supply and drain line you can identify. Common types include copper, galvanized steel, cast iron, PEX and ABS. Galvanized and cast iron lines often reach the end of their service life sooner, so flag them first.
For each fixture, write down the:
- Location (unit number and room)
- Type (toilet, faucet, water heater, shut-off valve)
- Brand and model, if the label is readable
- Install year, from receipts, permits or the manufacturer's date code
When a date is missing, use the building's year of construction as a starting estimate and mark it as an estimate.
Estimating Remaining Service Life for Each Component
Once the list is complete, estimate how many years each part has left. Water heaters, supply valves and flexible connectors usually need attention sooner than main drain lines. Use the manufacturer's rated life as a baseline, then adjust for visible wear, leaks, corrosion or past repairs.
A simple lifecycle schedule can have three columns: component, estimated replacement year and estimated cost. Review it every year, because a single failed riser can move several items up the list.
Setting Annual Budget Benchmarks for Plumbing Upgrades
Once you know what needs replacing, you can set a yearly target. Benchmarks give you a starting point, but your actual building will decide the final number. The goal is not to find one perfect percentage; it is to pick a defensible method, apply it consistently, and adjust it as your inventory matures.
Percentage of Replacement Value Rule of Thumb
A common approach is to set aside a share of the building's replacement value each year for upkeep and upgrades.
A practical way to apply the rule is to start with the building's insured replacement value or a recent appraisal, then assign a plumbing share that reflects the asset mix.
Watch out: a percentage-of-value rule can underfund plumbing in older buildings because the building value may be dominated by land, not systems. Always cross-check the percentage result against the actual lifecycle schedule before locking the budget.
Per-Unit and Per-Square-Foot Allowances
Dividing the budget by the number of units or total square footage makes it easier to compare buildings and to explain the number to owners or a property manager. For example, you might set a per-unit allowance for fixture replacements and a separate per-square-foot figure for shared pipe work.
A workable method is to build the per-unit allowance from the fixture count in your inventory, then multiply the count by the expected annualized cost of each fixture type and add a contingency for access and drywall repair.
Budgeting as a Percentage of Rental Income
Another benchmark is to set the plumbing reserve as a percentage of gross rental income. This method ties the budget to the cash the building actually produces, which makes it easier to defend at rent-review time or when preparing a capital plan for a lender. The trade-off is that a building with below-market rents may generate too little reserve even though its plumbing risk is high, so the income-based figure should be treated as a floor, not a ceiling.
Reconciling the Three Benchmarks
Run all three methods, then reconcile them. If the percentage-of-value and per-unit methods point to a similar annual figure but the income-based method is lower, the building is likely under-rented relative to its capital needs and the reserve should follow the higher figure. If the income method is higher, the building can support a faster reserve build. Document the reconciliation in one page so the number survives a change of property manager.
Adjust the numbers every year as costs change, and re-run the reconciliation whenever a major replacement moves up the lifecycle schedule.
The article lists three benchmark methods for setting the yearly plumbing budget. They are summarised below.
| Benchmark | How it is set | Watch out for |
|---|---|---|
| Percentage of replacement value | A share of insured replacement value or recent appraisal | Can underfund older buildings where land dominates value |
| Per-unit or per-square-foot allowance | Fixture count times annualized cost, plus shared pipe work | Keep unit and common-area allowances separate |
| Percentage of rental income | A share of gross rental income | Below-market rents can yield too little reserve |
Building a Rental Property Repair Reserve Fund
A repair reserve fund is money held back for plumbing failures and planned upgrades. Without one, a single burst pipe can force you to borrow or delay other work.
Open a separate account and make monthly transfers from rent income. Many landlords aim to build the balance over several years rather than all at once.
Watch out: do not treat the reserve as spare cash. Every withdrawal should match a line item in your lifecycle schedule or an emergency repair, so the fund stays useful when a real problem appears.
Estimating the Cost to Replace Plumbing in an Apartment Building
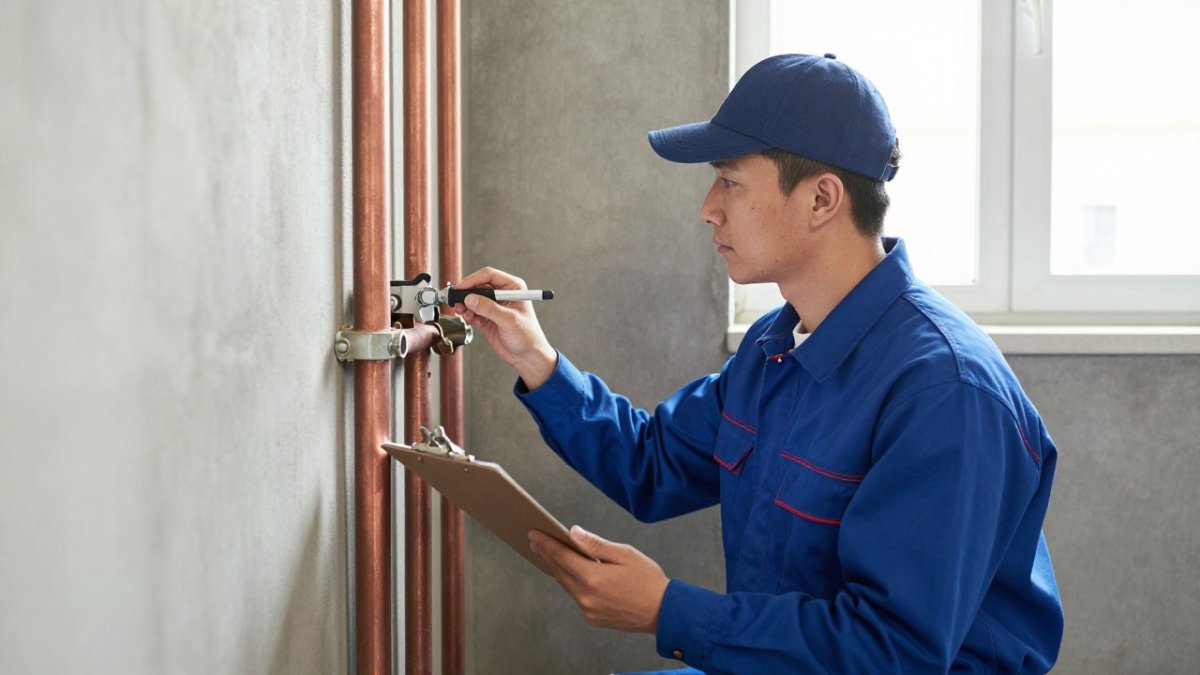
Full replacement in a multi-unit building is a large project, and quotes can vary widely. For a benchmark, see this water main line replacement cost guide, which compares typical pricing for major pipe work. Our guide on when to hire a commercial plumber for multi-unit buildings explains when this kind of work calls for a commercial rather than a residential plumber. Breaking the work into phases makes the total easier to plan and lets you spread the cost across several annual budgets instead of absorbing it in one year.
Phasing Work Across Suites and Common Areas
A common pattern is to phase by vertical stack or by riser rather than by individual unit. Replacing a stack from basement to roof in one mobilization can reduce the number of times the same wall must be reopened and the number of times tenants lose water.
Build the phase plan from your lifecycle schedule: group components by location and by expected replacement year, then sequence the groups so that access work is shared.
What Drives the Quote
A plumber will usually price the work by pipe length, number of access points, and how much wall or floor must be opened. Ask each contractor to itemize labour, materials, permits and drywall repair so you can compare quotes fairly. Expect costs to rise when the work involves:
- Accessing pipes inside finished walls or behind tile
- Upgrading the main water service or drain stack
- Working in occupied units that need temporary water shutoffs
- Meeting current Ontario Building Code requirements
- Asbestos or designated-substance abatement in older buildings
- Fire-stopping and fire-separation restoration after pipe replacement
Request at least three written quotes with the same scope. The lowest price is not always the best value if it leaves out permits, cleanup, or restoration.
Ontario Compliance and Permits
Before you finalize a phase, confirm which permits and inspections apply. Plumbing work is regulated by building codes, and many municipalities require a plumbing permit and inspection for alterations to drain, waste, and vent systems and for water-service changes.
Verify water-efficiency requirements before ordering fixtures. Replacing a large number of toilets or showerheads is a good time to confirm that the models you choose meet current standards and any applicable conservation-program requirements. Keep permit approvals and inspection records with the phase file so the next budget cycle can rely on them.
Building the Capital Plan and Contingency
A multi-unit plumbing capital plan should show, for each phase, the estimated cost, the reserve contributions that will fund it, and a contingency allowance for concealed conditions. Concealed conditions are the main reason plumbing phases overrun: opening a wall can reveal corroded branches, undersized lines, or previous non-compliant work that was not visible during the inventory walk-through.
Fund the plan through the repair reserve rather than through a special assessment where possible. If a phase must be accelerated because of a failure, document the change so the reserve balance and the remaining schedule are updated together.
Scheduling Plumbing Inspections and a Maintenance Checklist for Landlords
Regular inspections catch small leaks before they become large repairs. Use this preventative plumbing maintenance checklist for rental units to set up a repeatable inspection routine. Set a schedule and keep records of each visit.
Use a short checklist during each inspection:
- Check water heater for leaks, rust and age
- Test all shut-off valves
- Look under sinks and behind toilets for moisture
- Run drains and check for slow flow
- Inspect visible pipes for corrosion or drips
- Confirm the water pressure is within a normal range
- Log findings and update the lifecycle schedule
A plumbing maintenance checklist for landlords works best when the same person completes it each time, so changes are easy to spot.
Prioritizing Emergency Repairs Against Planned Upgrades
Emergencies will compete with planned work for the same money. A simple rule helps: any leak that threatens the structure, electrical systems or occupant health goes first. Everything else waits for the planned budget.
Keep a short list of items that can be deferred safely, such as cosmetic fixture swaps, and items that cannot, such as a failing gas-connected water heater. Review the list at each quarterly budget check.
Scheduling Your Next Plumbing Assessment With UMark
Once your inventory and budget are drafted, a licensed plumber can confirm the schedule and prices against the actual building. UMark Plumbing and Drain Inc. offers 24/7 emergency and routine plumbing service for residential and commercial clients.
To plan your next step, book a plumbing assessment or request plumbing repair service details for your rental building. Get a free quote before committing to a full upgrade.
Frequently Asked Questions
How much should landlords budget for plumbing maintenance each year?
A common planning approach is to set aside a percentage of the building's replacement value each year, though this is a starting point rather than a fixed rule. The right figure depends on the age of the building, the material of its pipes, and how many units it contains. Start by recording the plumbing components and their install dates, then compare that inventory against the annual allowance. Adjust the budget after each inspection, since older buildings usually need a larger share. Request a written estimate from a licensed plumber to confirm the planning number for your specific property.
What plumbing upgrades should rental buildings prioritize annually?
Prioritize components that are near the end of their service life and that would cause the most damage or tenant disruption if they failed. Common early candidates include aging supply lines, water heaters past their expected life, shutoff valves that no longer seal, and drain lines prone to backups. Safety and code-related items should come first, followed by items that generate repeated service calls. Planned upgrades are cheaper and less disruptive than emergency replacements, so scheduling them in advance protects both the budget and tenant relations.
How do you create a plumbing reserve fund for a rental property?
Open a separate account used only for building repairs and upgrades, and deposit a fixed monthly or annual amount into it. Base the contribution on your plumbing asset inventory and the lifecycle schedule so the fund grows in step with future replacement needs. Review the balance each year against planned upgrades, and top it up after any large expense. Keeping the fund separate from operating income makes it easier to draw on during an emergency without delaying urgent work.