 how-to
How to Fix a Rattling Pipe in Your Basement Ceiling
Last Updated: October 26, 2026
Quick Summary
A rattling pipe in a basement ceiling usually comes from a loose pipe vibrating against a joist or from water hammer, a pressure shock when a valve closes fast. Tighten existing straps first, then add new supports every 1.2 to 1.5 metres on horizontal runs, matching the clamp to the pipe material.
- Listen to the noise: rattling points to a loose strap or clamp, while banging points to water hammer.
- Check the first support within about 300 mm of a fitting or valve, where movement concentrates.
- Use rubber-lined clamps on copper and plastic clamps rated for plastic pipe on PEX or CPVC.
- Leave hot-water clamps snug but not rigid so the pipe can slide slightly as it heats.
- Install a water hammer arrestor when the bang happens at one fixture and pressure checks have not helped.
Table of Contents
- Diagnose the Noise: Is It Water Hammer or Just a Loose Pipe?
- How to Secure Pipes in Basement Ceiling: Step-by-Step
- How to Stop Water Hammer in Pipes
- Pipe Insulation for Rattling Pipes: Cushioning and Thermal Expansion
- Water Hammer Arrestor Installation: When and How
- Check Water Pressure and Hidden Leaks Before You Close the Ceiling
- Book a Professional Inspection with UMark Plumbing and Drain Inc.
- Frequently Asked Questions
Diagnose the Noise: Is It Water Hammer or Just a Loose Pipe?
A rattling pipe in a basement ceiling usually comes from one of two problems: a loose pipe vibrating against a joist, or water hammer, which is a pressure shock when a valve closes fast.
Listen closely before you grab a wrench. The type of noise narrows the cause fast:
- Rattling or vibrating: a loose pipe, strap, or clamp.
- Banging or hammering: water hammer, or a pipe slamming into wood.
- Humming: vibration from a worn valve or a pump.
- Popping: thermal expansion, often on hot water lines.
Timing and Pipe Material Clues
When the noise happens matters as much as how it sounds. A rattle that starts when a tap turns on points to flow-induced vibration. A single loud bang when a toilet finishes filling points to water hammer. Noise that appears only when hot water runs points to thermal expansion.
Pipe material helps too. Copper pipe is thin and transmits vibration well, so a loose run of copper rattles easily. Plastic pipe expands and contracts more, which can cause popping against tight fastenings. If you can see the pipe, note whether it moves when you push it gently. Movement means a support problem.
How to Secure Pipes in Basement Ceiling: Step-by-Step
Securing a loose pipe means adding or tightening supports so the pipe cannot move.
Basement-Ceiling Diagnostic: Narrow the Source Before You Open Anything
Work through these questions in order.
- Does the noise start only when a tap, toilet, or appliance runs? If yes, it is almost certainly a water supply or drain pipe, not a duct or framing. Go to step 2. If the noise happens with no water running at all, suspect a duct, a heating pipe, or framing movement, skip to step 5.
- Is it a fast rattle during flow, or a single bang at shutoff? A continuous rattle during flow points to flow-induced vibration on a loose supply pipe. A single bang at shutoff points to water hammer (see the water hammer section below).
- Does it happen on hot, cold, or both? Hot-only noise points to thermal expansion on a heating or hot-water line. Both hot and cold points to a support or pressure problem.
- Is the pipe copper, plastic (PEX or CPVC), or drain (ABS or PVC)? Copper transmits vibration and rattles easily when loose. Plastic expands more and can pop against tight fastenings. Drain pipe noise usually tracks a flush or a draining fixture.
- Can you see or feel the pipe move? With the system off, push the pipe gently. Movement means a support problem. No movement but noise persists means the source is a duct, a pump, or framing, not the pipe you are looking at.
Step-by-Step Securing
- Shut off the water if you will touch any fitting or valve.
- Map the noise by having someone run taps and flush toilets while you stand below the ceiling. Mark the loudest spot on the ceiling with tape.
- Open safe access through a drop ceiling tile or an existing hatch. Never cut into a sealed ceiling without checking what is above it.
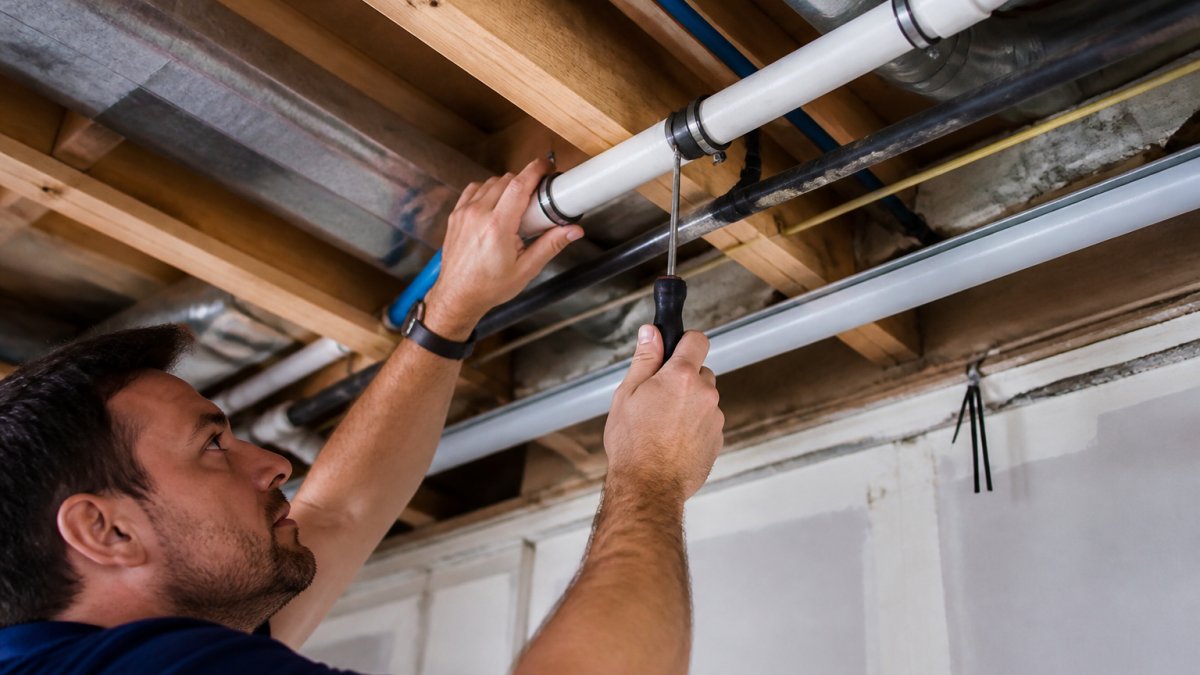
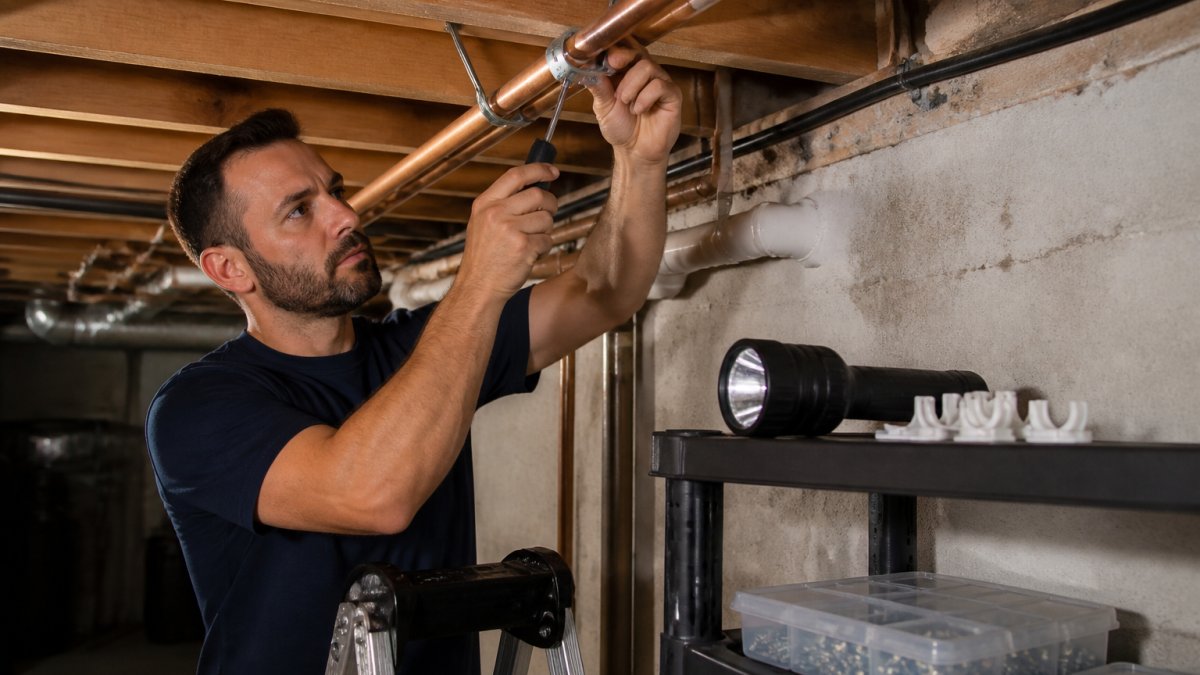
- Find the loose section and check every strap, clamp, and bracket along that run. Pay attention to the first support within about 300 mm of a fitting or valve, that is where movement concentrates.
- Tighten existing fastenings first. A loose screw on a pipe strap is a common and cheap fix.
- Add new supports every 1.2 to 1.5 metres on horizontal runs. Match the clamp to the pipe material:
- Copper: metal or plastic clamp with a rubber-lined insert; do not use a bare metal strap that can abrade the pipe.
- PEX or CPVC: plastic clamp rated for plastic pipe; avoid metal clamps that can crush or score the wall.
- ABS or PVC drain: plastic strap or hanger with a saddle; support close to joints.
- Allow for thermal expansion. On hot-water and heating lines, leave the clamp snug but not rigid, a pipe that cannot slide slightly will pop and stress fittings as it heats. A rubber-lined clamp gives that small allowance.
- Cushion contact points with a rubber-lined clamp or a short piece of insulation where the pipe touches a joist.
- Test the system by running taps, flushing toilets, and listening again. If the rattle persists at the same spot, recheck step 5, a second loose strap further along the run is common.
Safe Inspection and Asbestos Precautions
Before you inspect near any valve or supply line, know how to shut off the main water valve so a surprise leak does not turn into a flood.
Match the clamp to the pipe material and space new supports along the run.
| Pipe material | Clamp to use | Note |
|---|---|---|
| Copper | Metal or plastic clamp with rubber-lined insert | Avoid bare metal straps that can abrade the pipe |
| PEX or CPVC | Plastic clamp rated for plastic pipe | Avoid metal clamps that can crush or score the wall |
| ABS or PVC drain | Plastic strap or hanger with a saddle | Support close to joints |
| Horizontal runs (all) | Add new supports every 1.2 to 1.5 metres | Check first support within about 300 mm of a fitting |
How to Stop Water Hammer in Pipes
Water hammer is the banging you hear when a fast-closing valve stops the flow and the pressure shock travels back through the pipe. The fix depends on the cause, and pressure is the first thing to check, but "check the pressure" is useless advice without a number to compare against.
Measure the Pressure Yourself
If you do not own a gauge, many hardware stores lend or rent one, and a plumber will measure it as part of a service call. Record the reading at a few different times of day, pressure can climb overnight when demand is low.
Work Through the Causes in Order
If the banging only happens at one tap or toilet, the problem is local. If it happens across the whole house, start at the regulator and the main pressure reading.
Pipe Insulation for Rattling Pipes: Cushioning and Thermal Expansion
Use the right material for the job:
- Rubber-lined clamps absorb vibration at the support point.
- Foam pipe insulation cushions contact and reduces heat loss.
- Rubber pads between the pipe and a joist stop direct wood contact.
Wrap the pipe where it touches framing, not along its whole length. If you are choosing materials for a cold basement, see our guide to the best pipe insulation materials for cold basements before you buy.
Water Hammer Arrestor Installation: When and How
A water hammer arrestor is a small device that absorbs the pressure shock when a valve closes. Install one when securing pipes and checking pressure has not stopped the banging at a specific fixture.
Here is when and how to add one:
- When: the bang happens at one fixture, like a washing machine or a fast-closing tap.
- Where: on the supply line close to that fixture, as the manufacturer directs.
- How: shut off the water, drain the line, install the arrestor on a tee, then restore water and test.
- Which type: mechanical arrestors last longer than simple air chambers.
If you are not comfortable cutting into a supply line, this is a job for a licensed plumber.
Check Water Pressure and Hidden Leaks Before You Close the Ceiling
Before you seal the ceiling back up, confirm the pressure is in a normal range and there is no hidden leak. A pressure gauge reading above the normal household range points to a regulator problem. Water stains, soft drywall, or a musty smell point to a leak you have not found yet.
Do not close a ceiling over a wet joist or a slow drip. Fix the leak first. If you suspect a hidden leak, our guide on how to detect hidden water leaks in basement walks through the signs and checks before you button everything up.
Book a Professional Inspection with UMark Plumbing and Drain Inc.
At UMark Plumbing and Drain Inc., our certified team has more than 20 years of experience. We offer 24/7 emergency service.
If you are weighing a DIY fix against calling someone, our guide to the 7 key warning signs you need professional plumbing helps you decide. To see the full range of plumbing services in Vaughan, review what we cover before you book.
Frequently Asked Questions
How can I tell what is causing a pipe to rattle in my basement ceiling?
Listen for timing and tone. A single bang or hammering when a tap or toilet valve closes can be associated with water hammer. A continuous vibration or rattling while water runs can be associated with a loose pipe moving against a joist, strap, or ductwork. Noise that happens only with hot water or popping and ticking sounds can have different causes.
Can I fix a rattling pipe without opening the ceiling?
Sometimes. If the pipe is exposed in an unfinished basement ceiling, it may be possible to inspect it without opening the ceiling. For a finished ceiling, access may be needed to inspect a concealed pipe.
Can a rattling pipe indicate a leak or a risk of bursting?
A rattling pipe alone does not establish whether there is a leak. If you also see water stains, hear dripping, or notice reduced water flow, consider having the situation assessed. A pressure gauge test and a visual check of accessible pipes may provide additional information.
Should I turn off the water if a pipe is rattling?
A rattling noise alone does not establish whether the main water supply needs to be shut off. If there is a visible leak or a sudden drop in water pressure, consider seeking professional advice.
A rattling pipe in a basement ceiling is easy to ignore until it becomes a leak or a burst. If the noise keeps coming back after you tighten the straps, or you are not sure what is behind the ceiling, get it checked before it gets worse. Get started with UMark Plumbing and Drain Inc. and book a free quote for a proper inspection and a lasting fix.